01/02/2019 0 Comments
Beginner’s Sewing Tips
I read lots of info on writing blogs and the key points that stuck with me are as follows:
• Know your audience? This can be a tricky one, so try to put yourself in your reader’s shoes, and get them interested!
• What should I write about? Be passionate about your topic.
• Sewing has several layers: hand sewing, home decorating, children’s sewing, millinery, crafts, quilting, upcycling, to name just a few.
• I believe most people can sew if given the opportunity and guidance needed.
• There is value in learning to Sew as it is a useful skill. It develops such traits as calmness, focus and patience. It can be a great tool for creating a space for relaxation and enables creativity to flourish.
• Having worked in a youth training environment for over 20 years, I’ve seen the results and benefits this skill can bring in the form of self-development and life skills.
Young learners possess a creative talent and a willingness to create something tangible, as today’s world of technology lacks the skills of dexterity which need to be rediscovered.
• They like the idea of being able to create something colourful and fun.
‘We are living in a digital world. As technology advance and consumers are becoming more switched on than ever before...’ https://etaileurope.wbresearch.com/digital-skills-...
‘Surgery students spend so much time on screens that they have lost the ability to perform simple tasks such as stitching and sewing up patients, a professor has warned.’
https://www.independent.co.uk/life-style/surgery-s...
Pincushion
I am starting with a simple pincushion, which can take on many forms,
and sizes. The one I chose is the free flowing
shape of a fried egg!
Step 1:
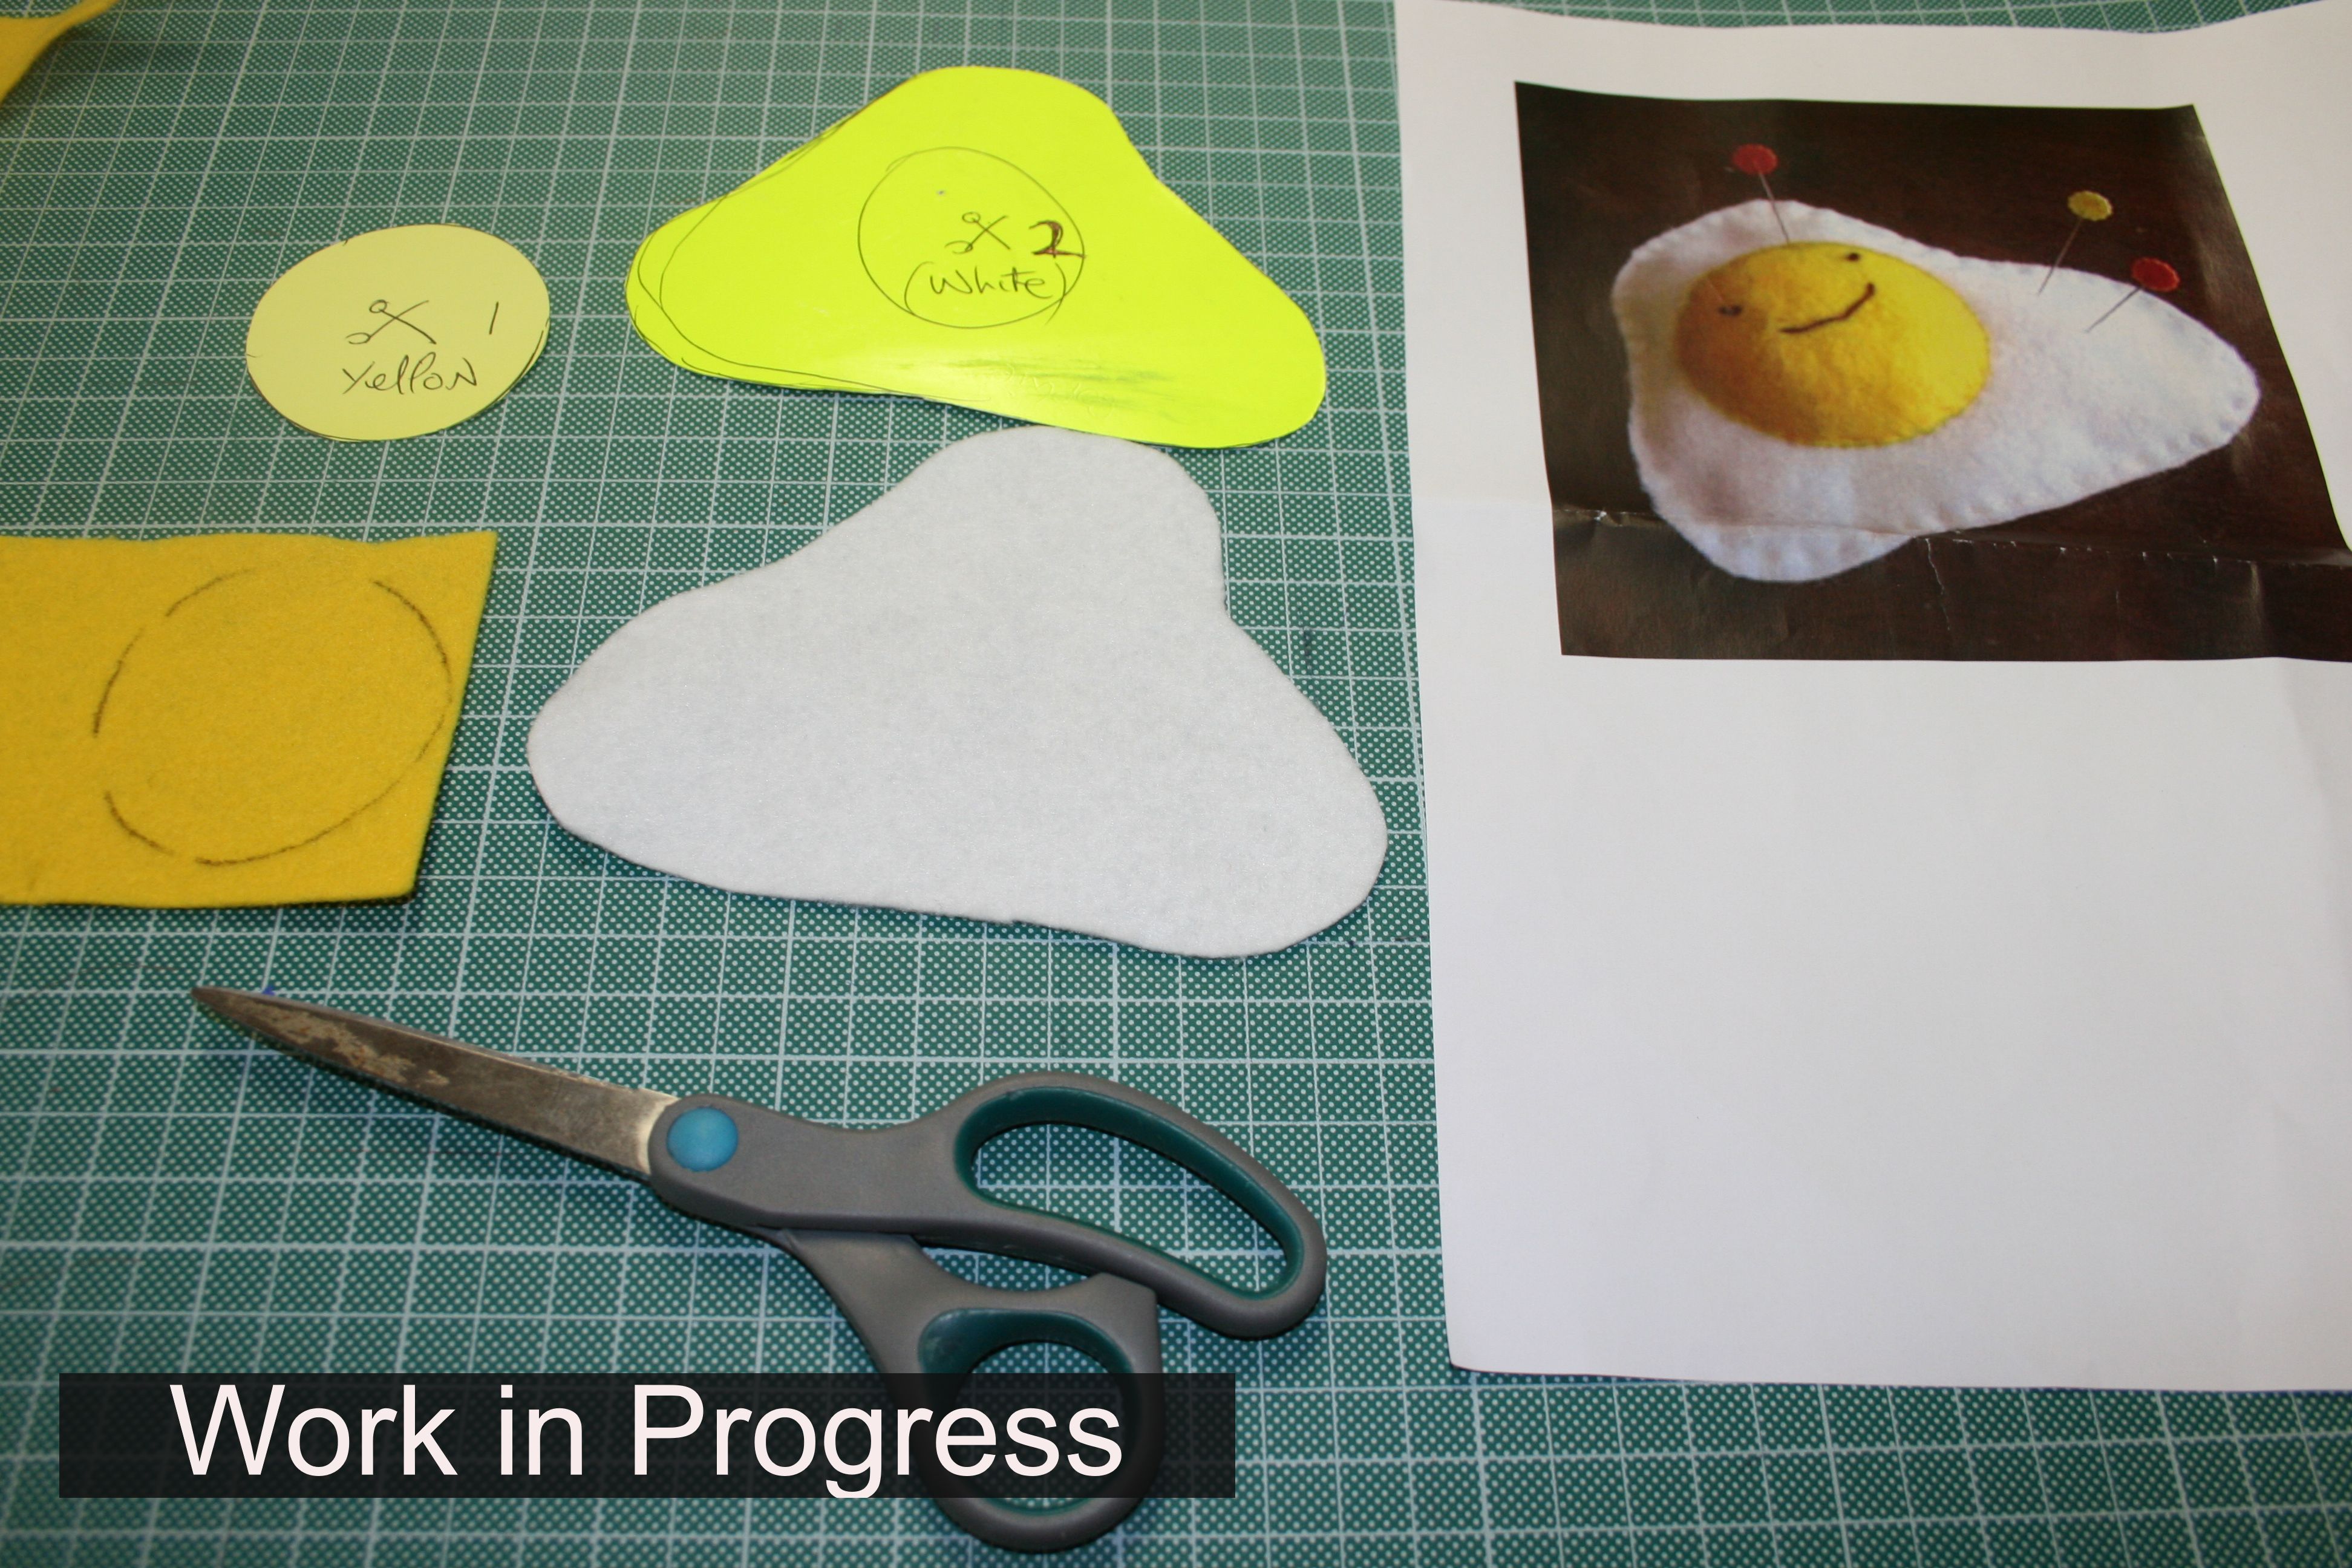
Draw a template for a fried egg, just go with the flow and have fun… Draw an inner circle for the yellow egg yoke.
• Cut 2 pieces of white felt from these templates.
• Cut 1 circle piece of felt in yellow
Step 2:
• Place the yellow felt piece in the centre of the white.
• Pin and tack this onto the white felt.
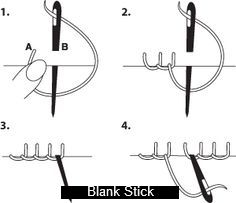
• Then using a blanket stitch, edge around the circle, leaving an opening to allow the stuffing to be filled.
Step 3 - This will give the raised appearance on the front. Seal off the yellow circle.
Step 4 – With right sides together, pin both pieces of white felt, and tack around the edges.
Step 5 – Again, using blanket stitch work around the edge of white felt, leaving an opening to fill with wadding. Seal off the seam and finish with black embroidery thread on yellow for eyes and mouth.
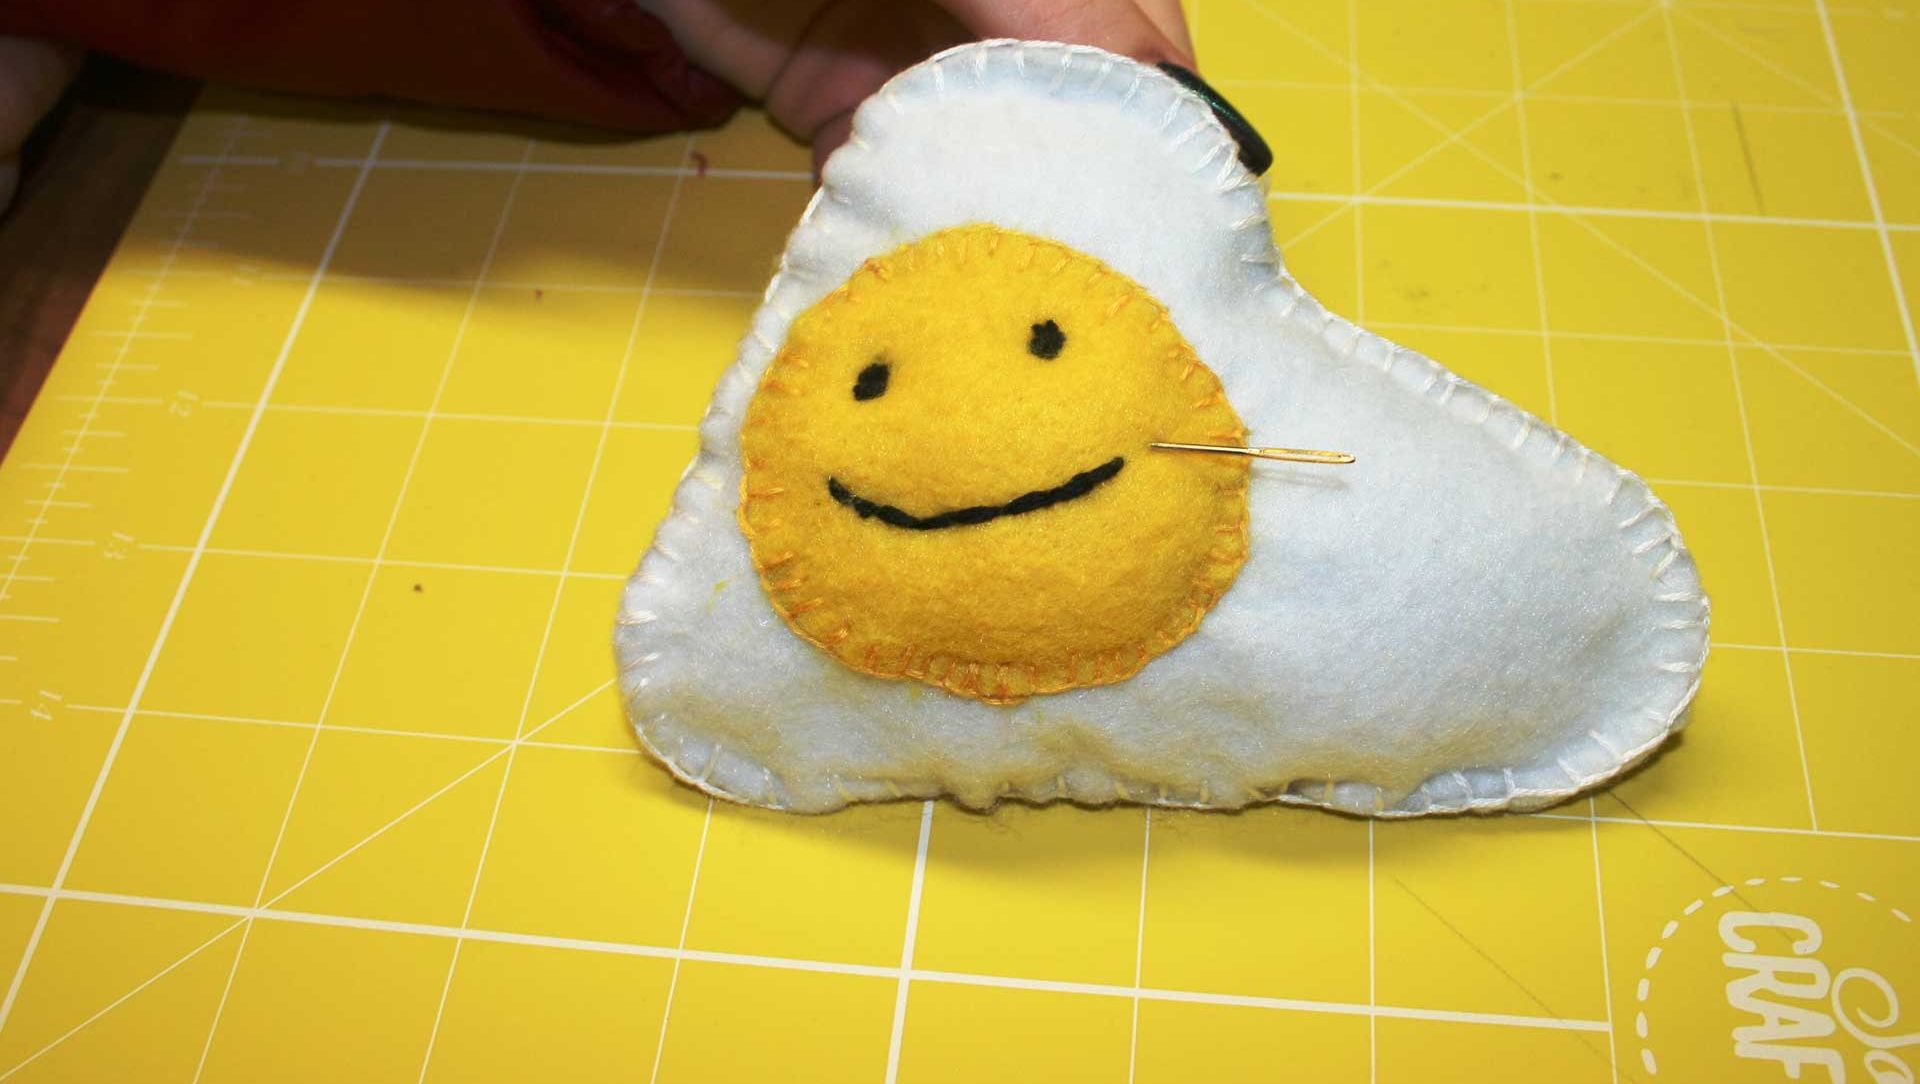
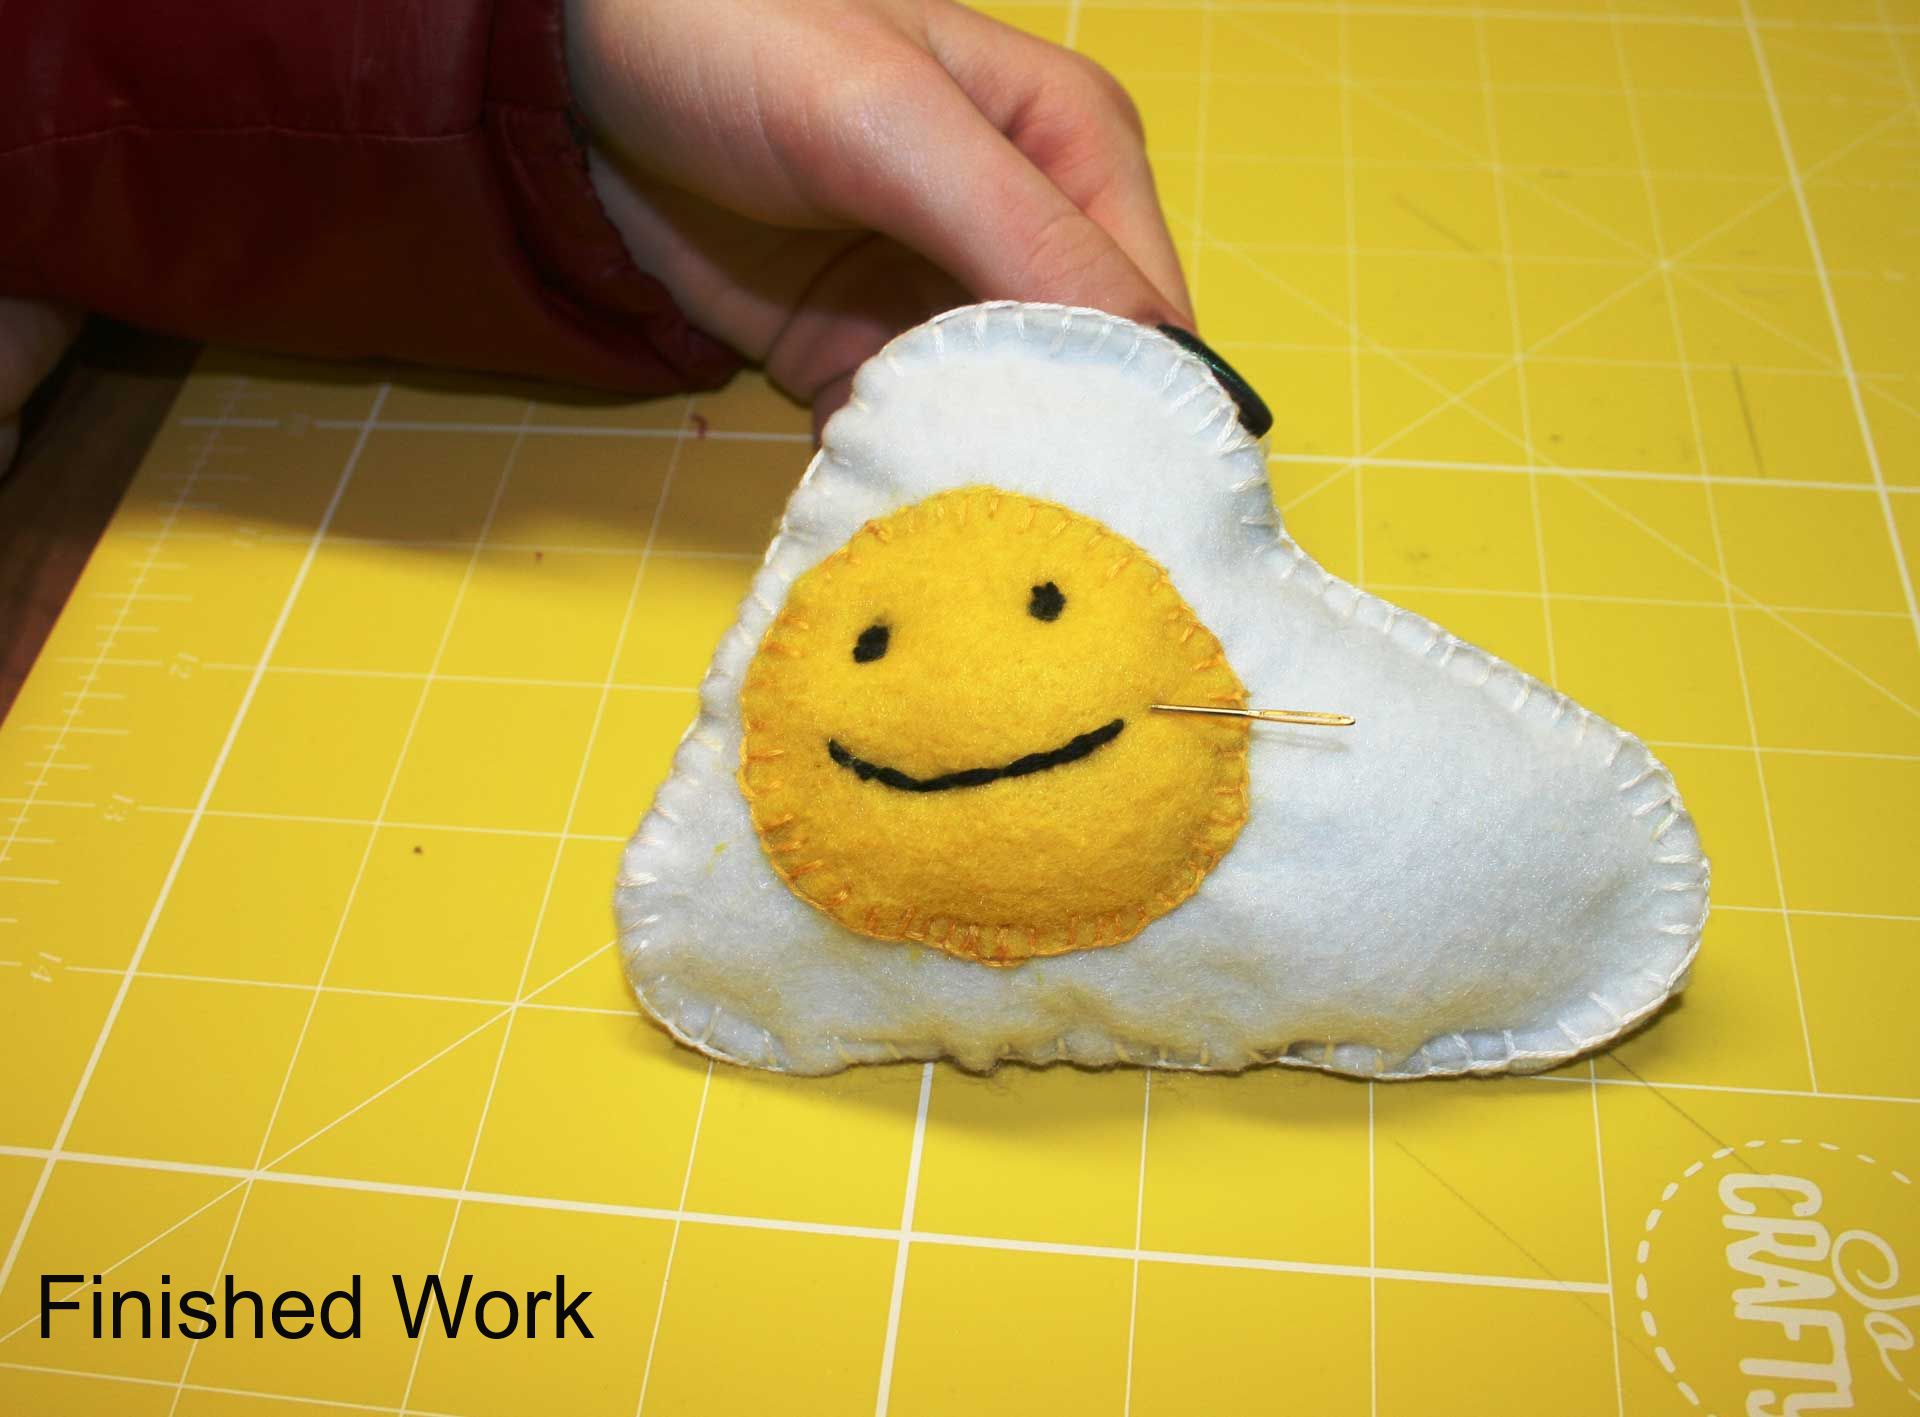
My finished pincushion!


Comments
Leave a comment